We’ve made an estimate on the time and cost involved in this project based on the area we are installing. The cost and time for you will vary depending on how your area compares to ours.
Step 1 : Planning & Preparation
Work out how many boards you’ll need by calculating the square meterage. If you’re working in an existing room, we recommend removing your skirting boards so that the flooring can be laid 10mm off the wall. You can refit them once you have completed laying the boards. Alternatively, you can leave the skirting boards in place and use a trim to finish off the perimeter at the end. Have all your tools set out ready to go and a clear area to work in.
Step 2 : Preparing the Area
To prepare the area you will need to put down some underlay. This is important for two reasons: Firstly, it will provide a moisture barrier – it has a film on the bottom so if you are working on a slab or an older house you won’t have to worry about any rising damp or moisture coming through. Secondly, it provides sound insulation which is great if you have living areas below.
Step 3 : Laying the Boards
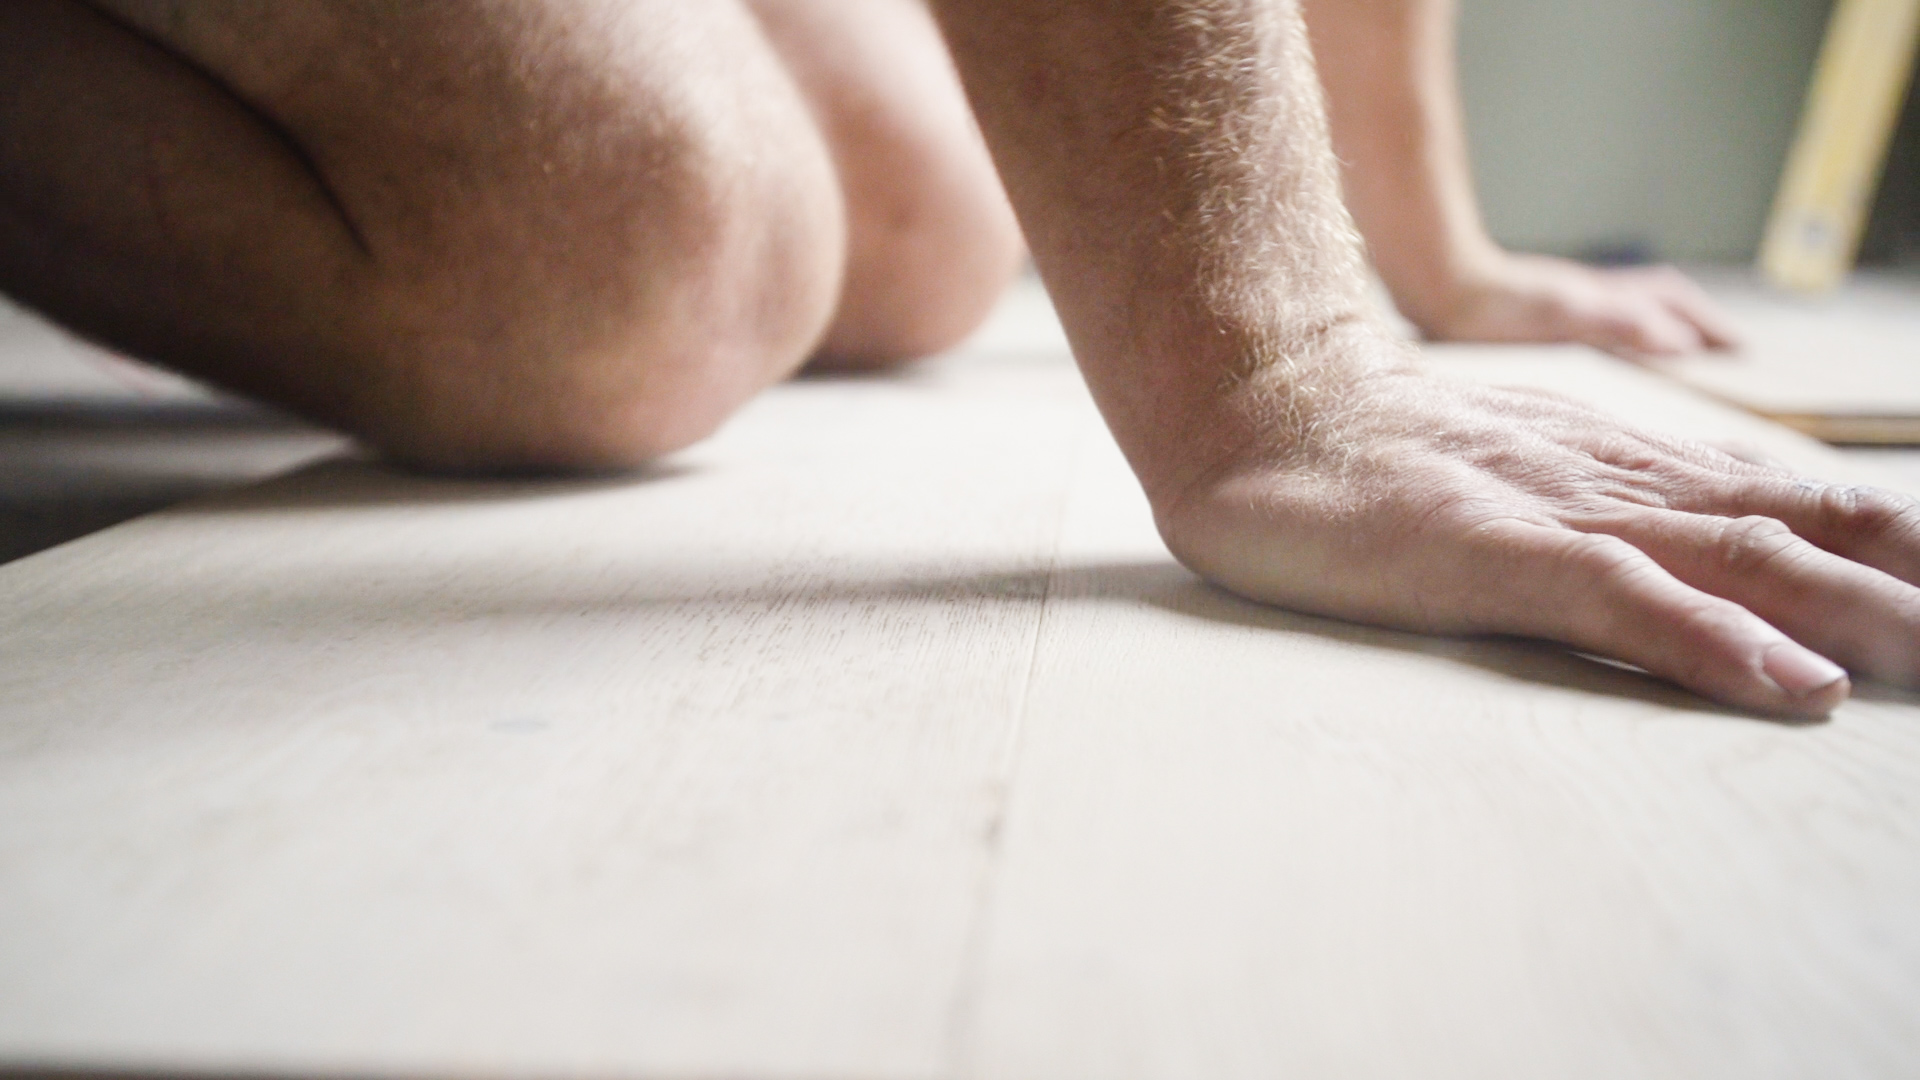
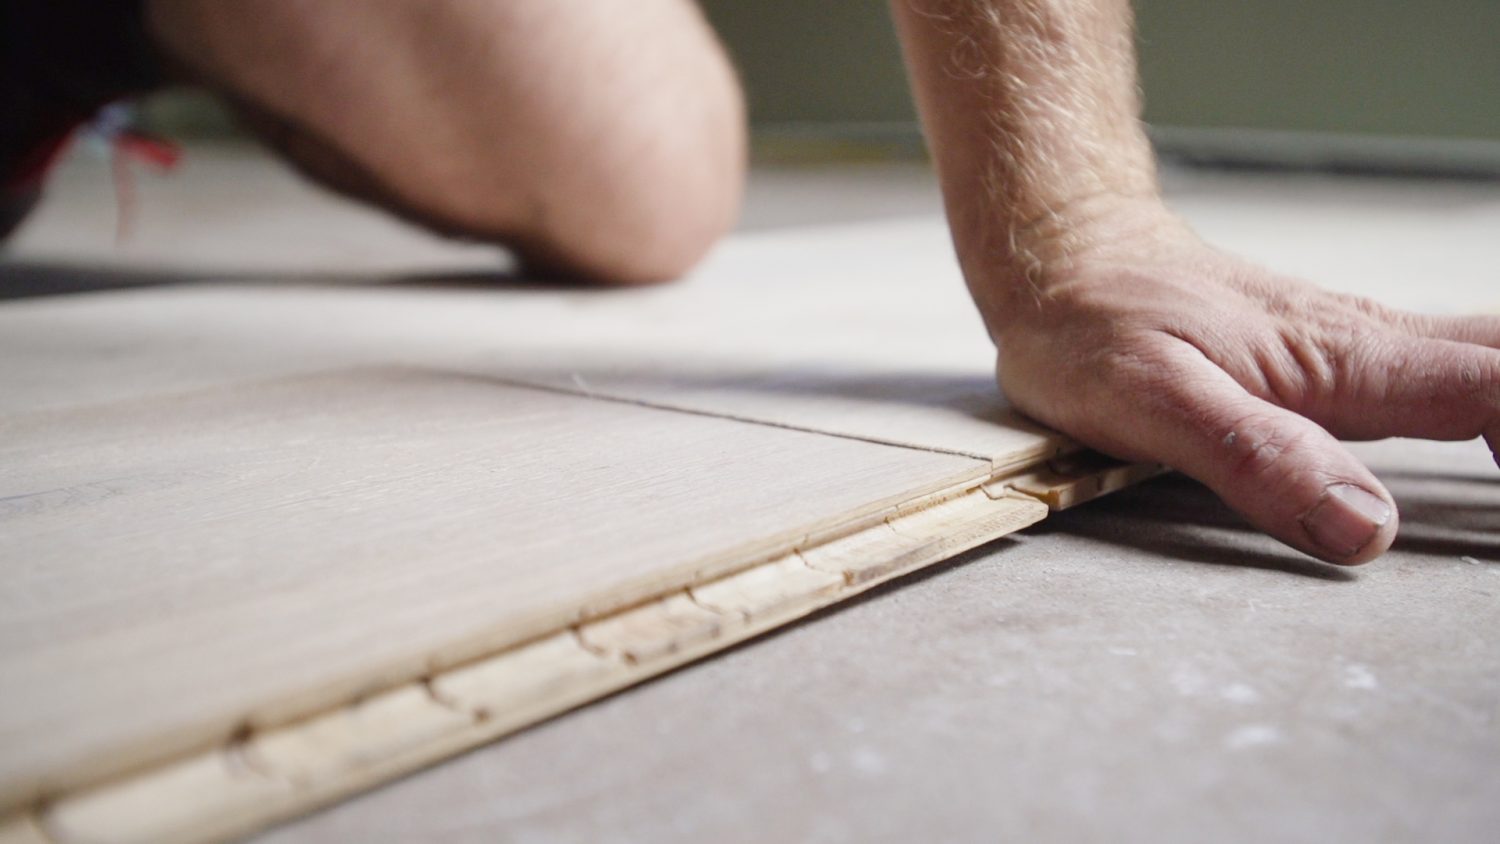
Now that you have your underlay ready to go, it’s time to start laying the boards. It’s important to make sure you don’t end up with the ends of the boards adjacent to each other. Start with a full length board on the first row, then use a half length to begin the next row, this will stagger the joins. To begin the second row, align your board to the previous row on an angle, hold firmly and push down. It’ll snap and lock into place!

Step 4 : Eliminating Gaps
To eliminate any gaps between boards, place a timber block against the tongue of the board and, using a hammer, give the block firm tap to click the board in and get rid of the gap. It’s important to use the block as this protects the tongue. If you break the tongue, you break the board.
Step 5 : The Next Few Boards
You’re paying for these boards by the metre, so every metre you can use is money in your pocket! So when you get to an end, and you’ve cut the board to fit it against the wall, use the shorter off-cut at the beginning of your next run to eliminate wastage and maintain staggered joins – otherwise you’ll end up with lots of wasted offcuts.

Step 6 : The Final Board
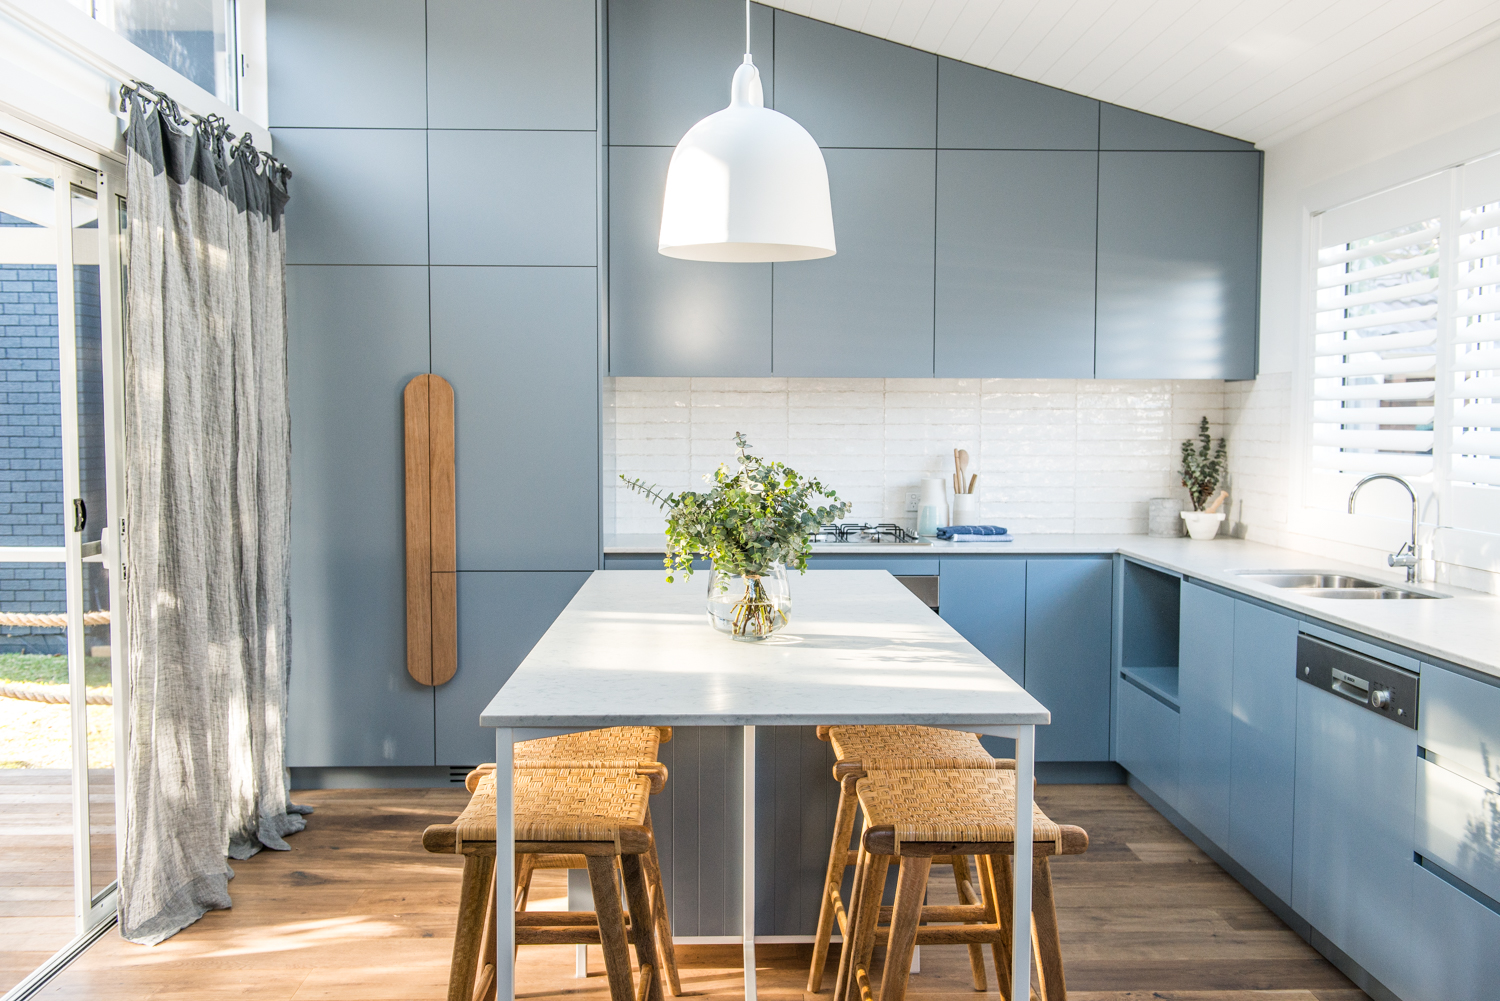
Continue this process until you reach the finishing wall. Typically, you will need to leave a 10mm gap around the edge of the room to allow for the floor to move independently. Now it’s time to refit the skirting or attach your trim around the perimeter of the room to finish it off. Your room is now ready to furnish!
