We’re back again with another big project, and it’s fair to say this one has felt less like a sprint and more like an ultra marathon!
So here we are on the sunny Central Coast of NSW and this time we’ve built not one, but TWO stunning coastal homes. We’ve designed a side-by-side duplex, with each home featuring a mirror image layout. What we’re really excited about is that each home has its own unique interior style and design theme.
House 1 is light, bright and French-inspired; and House 2 is warm, moody and feels like a Spanish coastal resort. Each home boasts three bedrooms upstairs including a generous walk-in-robe and ensuite, along with the main bathroom and an office. Downstairs, each home has a media room, powder room, wine room and a generous open plan kitchen, living and dining space.
We’re excited to share all of it with you, but let’s take you back to the very beginning…
The land was purchased in 2021. We began designing straight away with the hope to be out of the ground by Christmas that same year. Optimistic? Well, maybe. Although we knew this would be our biggest project yet, we were ready to jump straight in and make it happen!
Little did we know we’d spend over 12 months in council. This felt like such a roadblock at the time for us in what we thought would be a relatively straight forward approval…but finally we got the green light! Once we had our DA approved we were straight onto organising the construction certificate and RAMS construction loan. We chose to move forward with a RAMS construction loan based on a couple of key benefits:
- Loan repayments during the build are interest only, which may help to manage the budget
- Available for both owner and occupied investor
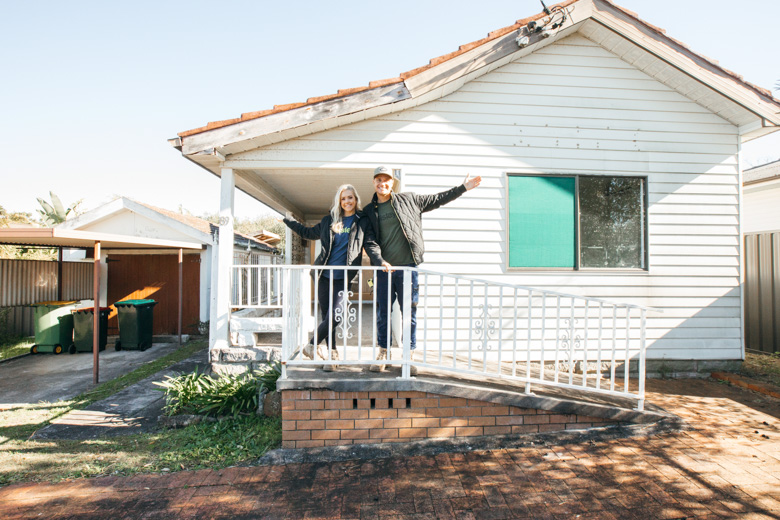
The old shack on the block was demolished
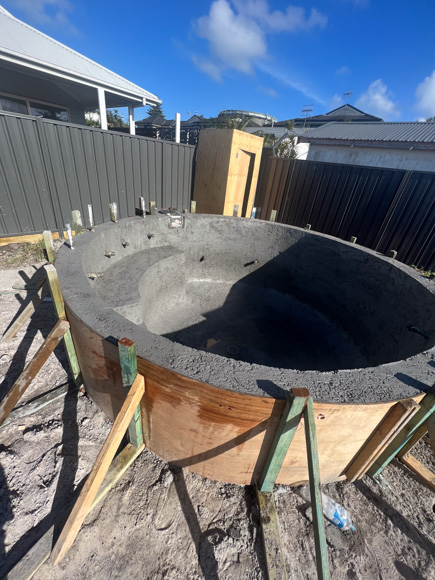
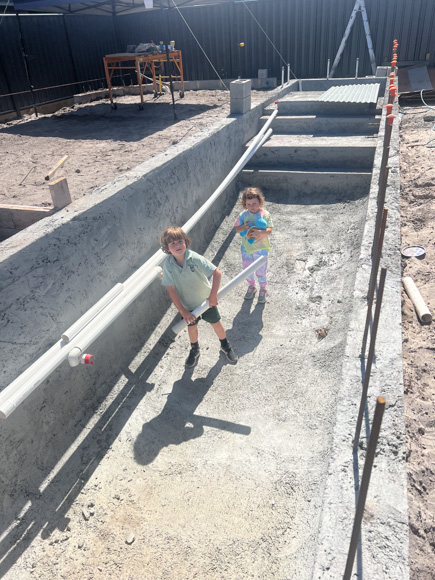
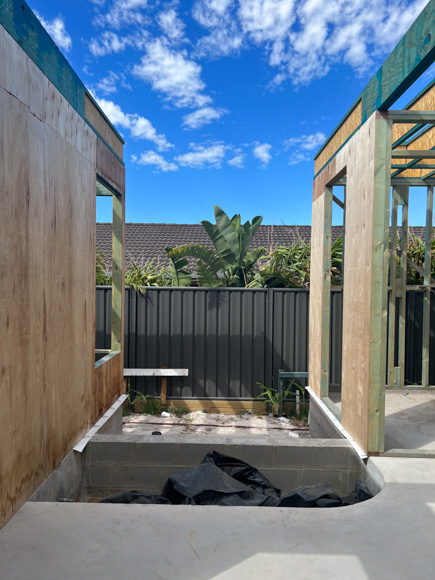
With all the planning and approvals now locked in it was FINALLY time to break ground and the pools were the first cabs off the rank. We worked with Matt Leacey and his team from Landart on the design of the landscaping. Although internally the homes will be a mirror image layout, we knew we wanted the backyards to be completely unique to one another. House 1 features a long lap style pool with a spa at one end, whilst House 2 features a round pool with a tiered deck area. But we don’t want to give too much away! Much more on that to come in later episodes…
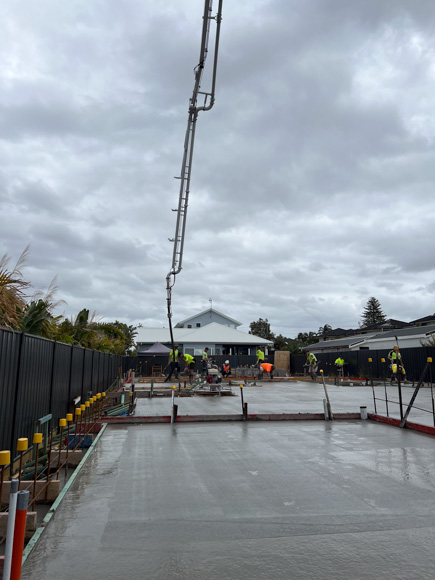
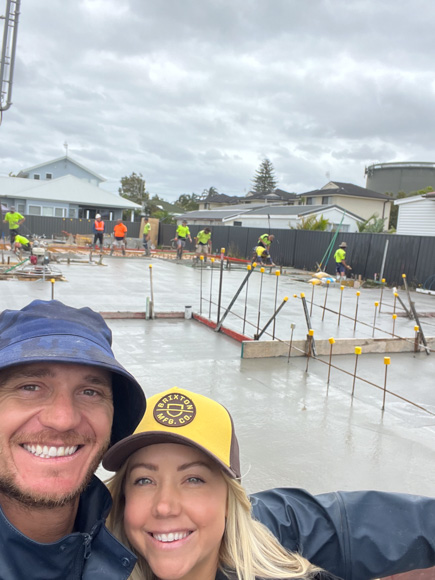
Next up, it’s slab time! December 2022 – what a monumental moment this was!
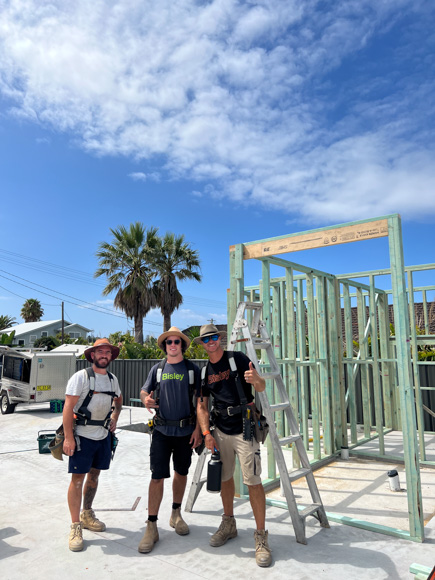
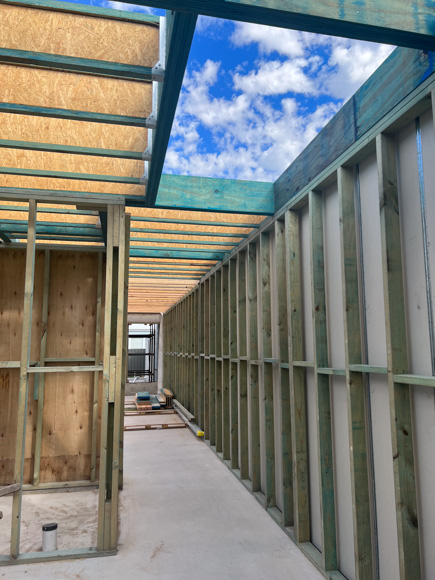
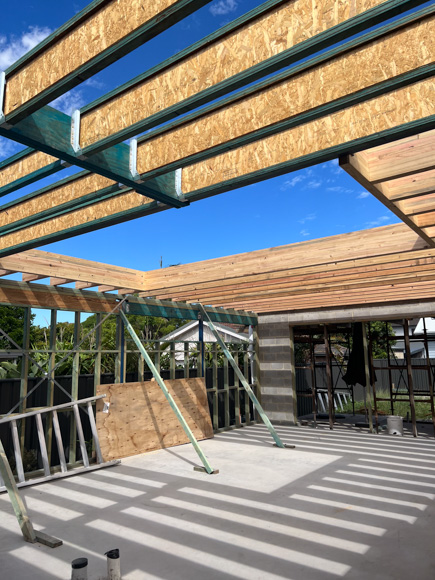
We were anxious to move on to first and second story framing, getting a roof on and reaching lock up. We’ll touch on that in much more detail later in the series when we share the exteriors, but there are a few things I’d like to mention here. For this build, we’ve used black window frames from Wideline Windows and Doors. This is the first time we’ve chosen black windows for any of our builds or renovations and these are a key design element that will assist in tying the interior scheme to the exterior. We’ve opted for a mix of James Hardie exterior cladding options to create a Modern Coastal look…but again, more details of this to come in other episodes….
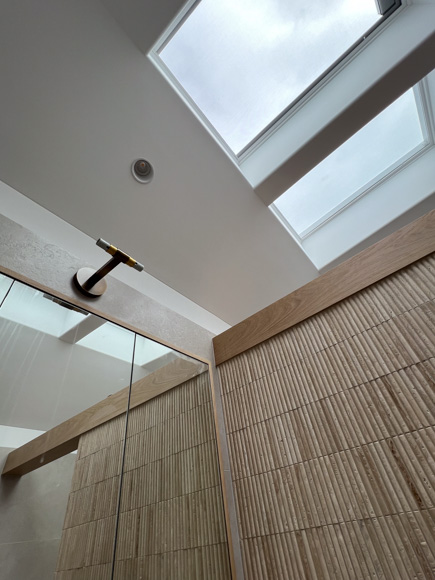
Fast forward to lock up and it’s time to switch our attention to the upstairs main bedrooms of each home, which both include a generous walk in robe and ensuite. Each main bedroom has an East-facing balcony and we’ve used the Wideline Paragon stacking doors to lead you out. We also have fixed Paragon windows above and adjacent to this. The ensuites include a pair of opening Velux® skylights. We include these in all our bathrooms not just for the amazing natural light and architectural feature they provide, but also because it is such an amazing way of improving ventilation within the bathroom. They also have rain sensors which will automatically close the skylight when rain is detected.
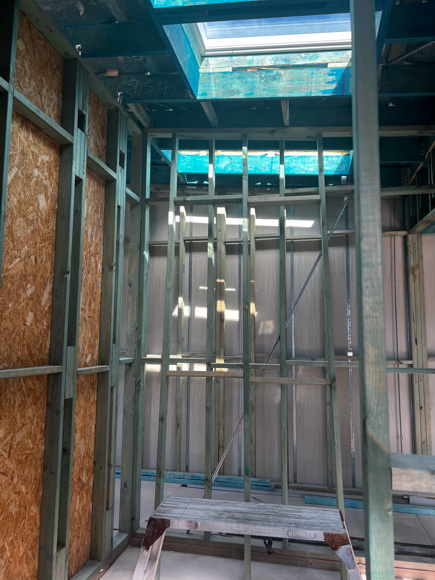
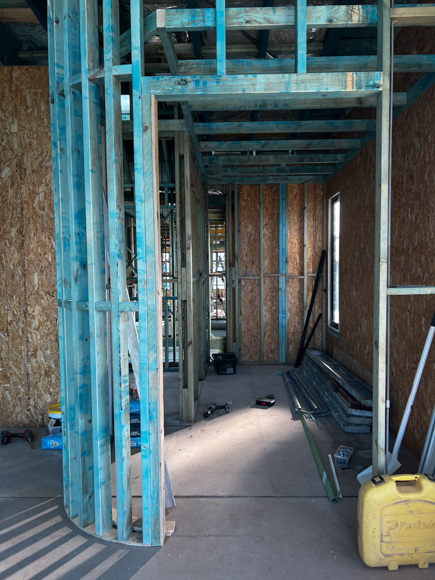
Something we always focus on in the framing stage – particularly in the main bedroom – is the detail of the window furnishings. It’s at this point that you need to factor in any pelmets or dropped ceiling details to accommodate recessing the window furnishings, which is exactly what we’ve done in these bedrooms.
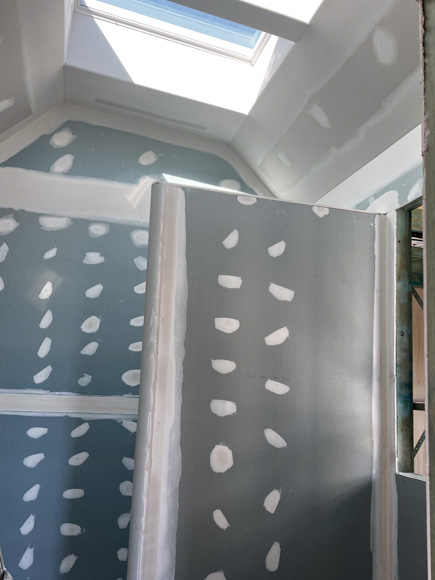
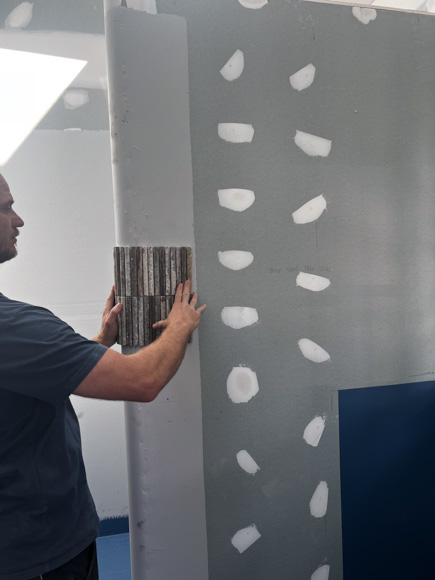
After plumbing and electrical rough in, it’s Gyprock® time – which is always another monumental moment in any build. As you begin to cover up the framing, you can more clearly visualise rooms coming together. On the walls we’ve used Gyprock Plus™ and in the bathrooms we’ve got Gyprock Aquachek™ 10mm which offers great moisture resistance and tile weight capacity, but is now available in a lighter board that is easier to work with. In each bathroom we’ve divided the shower and vanity with a wall that is curved at one end. We’ll then use a feature timber beam to secure this wall and prevent movement. A functional as well as aesthetically pleasing design decision – we love those moments!
We’ve locked all our tapware, toilets and tiles in at Beaumonts and I’m super happy with the differentiation between each home. In House 1 ensuite we’ve chosen the OmniStone Beige Silk 600x1200mm tiles for both the walls and floor, paired with the Chanelle Natural Travertine feature tile. For the tapware in this bathroom we’ve opted for the Meir Cross Handle in a Champagne finish.
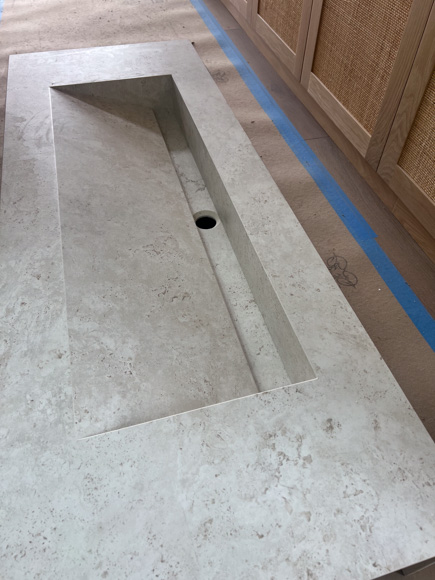
For the vanity we’ve chosen the Loughlin Furniture Airlie vanity in American Oak Light and have paired this with a Cosentino Dekton ‘Sabbia’ integrated basin that has been custom made by the amazing team at Edstein. We could not be happier with these amazing basins!
In House 2, we’ll lay OmniStone Tan Silk 600x1200mm tiles on the floor and walls, and feature the Chanelle Brown Travertine on the dividing wall. For the all the bathroomware, we’ve chosen Misha tapware in Brushed Copper finish. We love how the copper works so well with the darker finishes in this bathroom. Again we’ve chosen the Loughlin Furniture Airlie vanity but in this house we’ll use Aged American Oak, and again use a Cosentino Dekton ‘Sabbia’ integrated basin that has been custom made by Edstein.
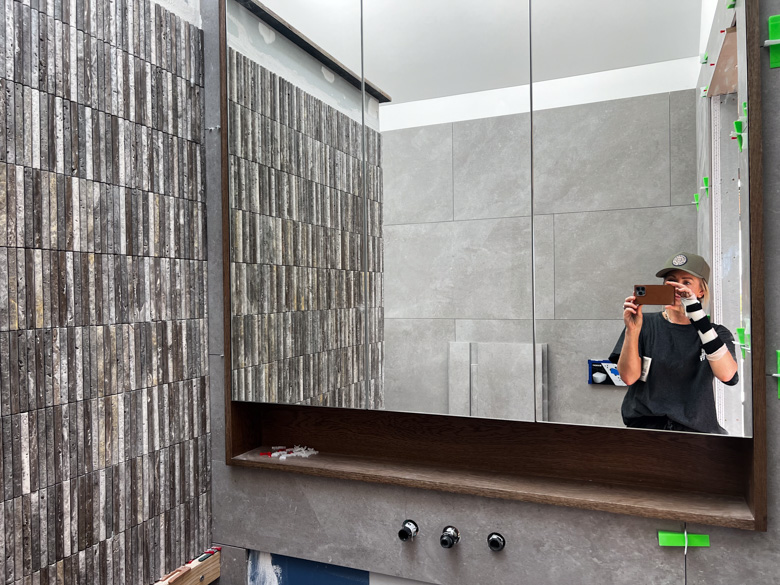
House 2 ensuite coming together with a recessed shaver cabinet from Loughlin Furniture
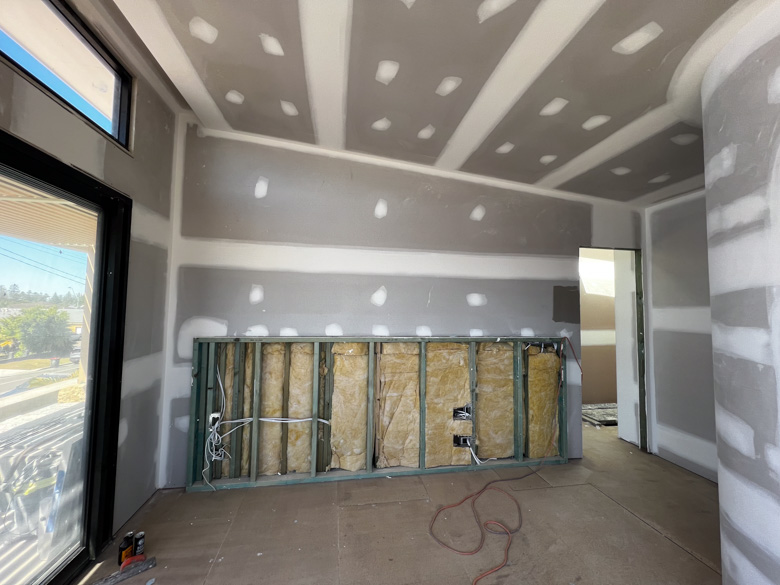
Walls ready for 3-in-1 Prep
Moving back into the bedrooms it’s time to prep the walls with Taubmans 3-in-1 Prep. I’ve locked in paint colour selections for both rooms. In House 1 I’ve chosen a creamy colour called Taubmans ‘Speciality’ and in House 2 the much darker option of Taubmans ‘Shy Guy’. We’re using the Endure range in a low sheen finish for all walls, and Taubmans Water Based Enamel for all skirting and architraves. We love that Taubmans Endure Interior protects against the growth of mould, mildew and bacteria and is also approved by the National Asthma Council Australia’s Sensitive Choice® program.
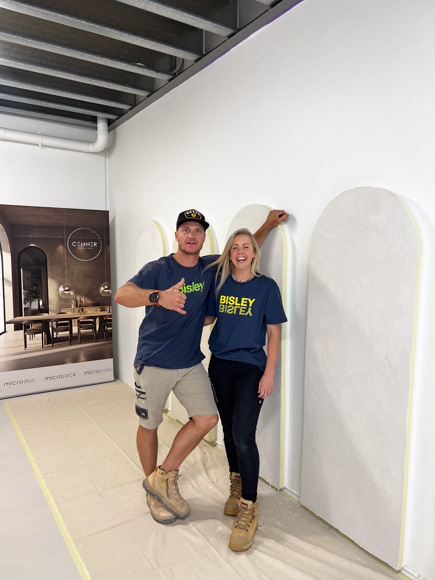
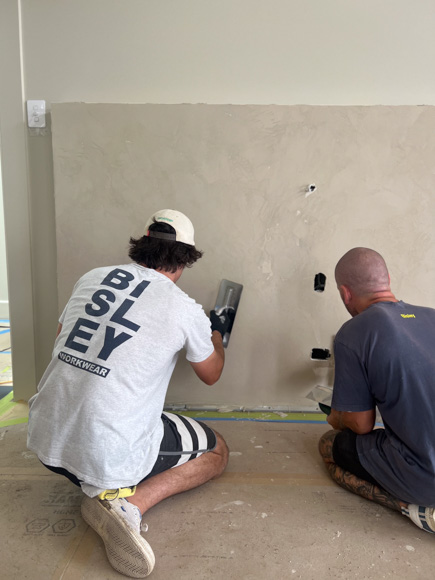
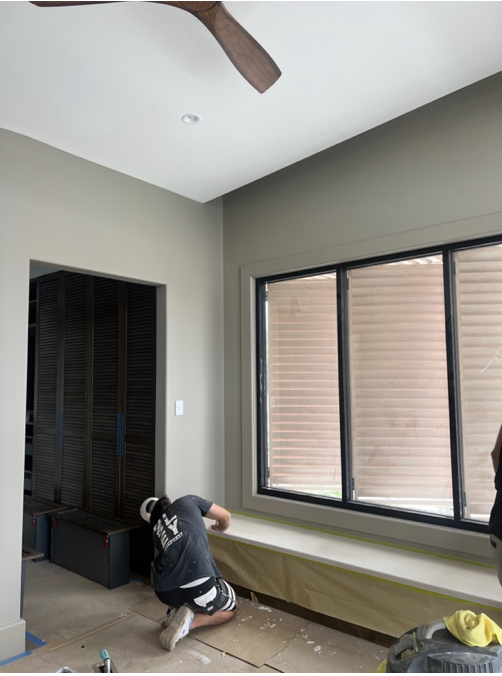
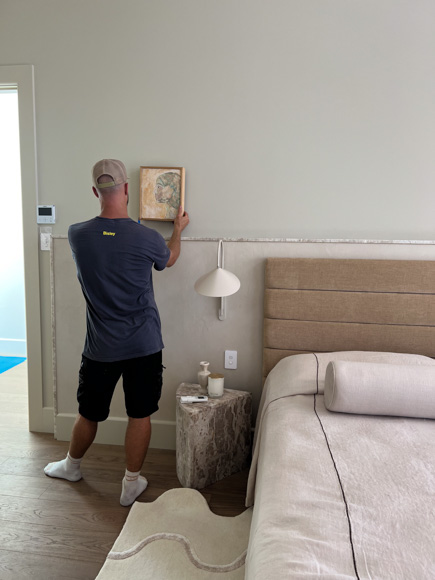
Kyal has built nib walls that run along behind the beds and for those nib walls, along with some built-in bench seats we’ve included in the main bedrooms, we’ve decided to use a microcement finish. To execute this, we took the team up to the Gold Coast and completed the Cemher training. This new skill has been extremely handy throughout the build as you’ll see in coming episodes.
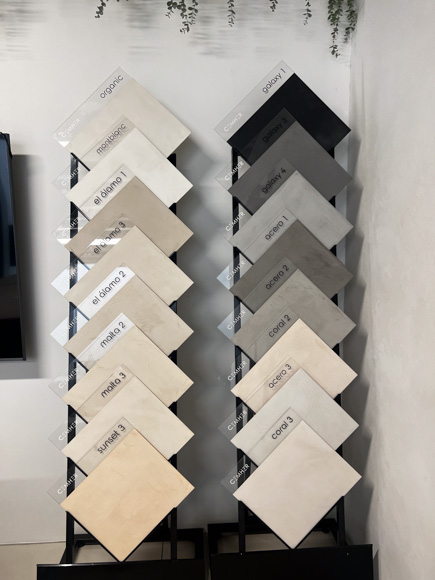
For this microcement finish, in House 1 we’ve selected Cemher Microdur® in the colour El Àlamo 01 – it’s a soft, organic colour that works tonally with our wall paint colour. For House 2 we’ve chosen El Àlamo 02. To cap the bedhead nib walls we’ve used the stone that we’ll use in each respective kitchen – House 1 will be Cosentino Sensa Taj Mahal, and Cosentino Sensa Vancouver for House 1.
From the hallways into each room we feature the Corinthian MODA 3 doors. The MODA doors are an absolute favourite for us when selecting internal doors. The shaker profile is a nod to the classic charm of a coastal home and it’s a subtle design detail that adds an element of quality to a home. For the ensuites, we’ve again used the MODA 3 door but this time we’ve hung them with a black Corinthian barn door system. The black tracks subtly compliment the black window frames and a sliding door is a great option when you need to save space. The walk in robes have been installed by Beachside Kitchens, finished off with custom doors by Loughlin Furniture. In House 1 we’ve selected a shaker profile in American Oak Light with a tight weave rattan insert and in House 2 we’ve chosen the Keys Fixed Louvre door in Aged American Oak.
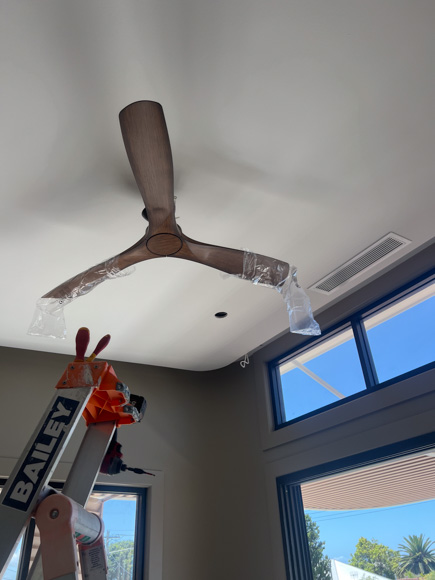
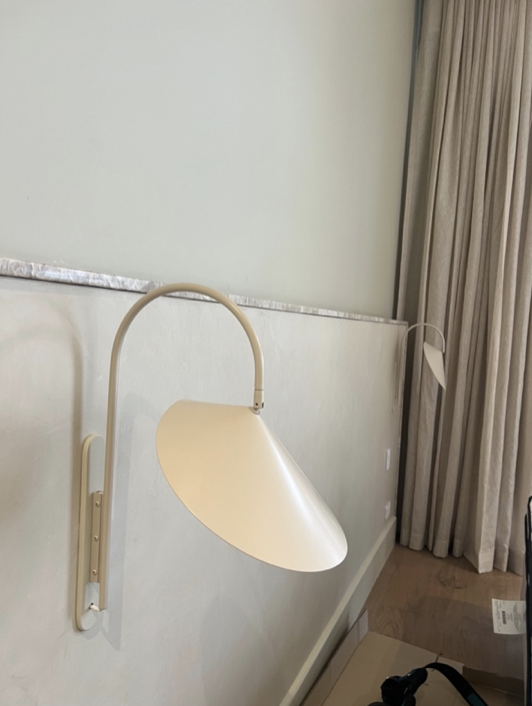
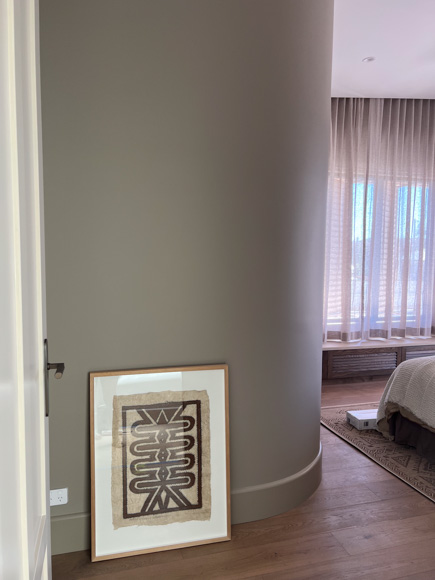
We’re so excited to have reached a stage of fit out and styling in these spaces! We’ve shared plenty of images of these finished rooms in our Gallery, and you can download our Supplier Lists with ALL the details.
Thanks for coming on this journey with us, we’re excited to share the whole process!
To check out all the finished spaces coming together, make sure you tune into Episode 1 and check out our supplier lists for all the details – scroll down to see all the links.
Want to see more of Bay Builds? Click HERE
Bay Builds series is proudly brought to you with the support of RAMS Home Loans.
